Previous – Chapter 1
Maven Tutorial – Chapter 2
Maven is one of the handy tool which can be set up quickly and can be made it ready for any java projects within a max of 10 minutes. Also, the maven downloadable package is also very light weight. Follow the below mentioned steps in order to download and set up the maven in the windows environment.
Step 1
Download the latest version of the maven from http://maven.apache.org website.
Note: Any version of the maven which is above 3.2 requires JDK version to be 1.6 and above.
Step 2
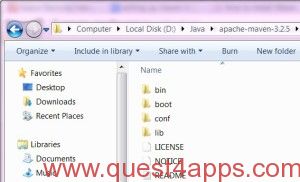
Once the download is successful. Unzip the downloaded maven zip and place it in a drive containing all the java related artifacts. E.g. D:\Java\apache-maven-3.2.5.
Step 3
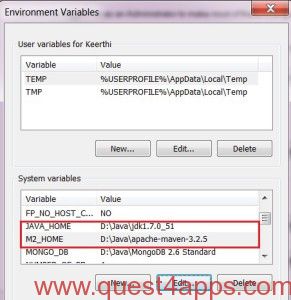
Now we need to set up the class path Java (JAVA_HOME) and Maven (M2_HOME). Kindly ensure that the required version of the jdk has been installed.
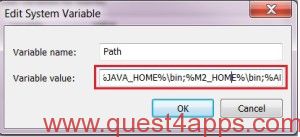
Now edit the variable “Path” in the System variables to include the JAVA_HOME and M2_HOME.
Step 4
If the above steps are carried out successfully, then we are done with the installation and setup process of the maven tool. Now in this final step, we would be verifying for the same and ensure things are fine accordingly.
Just open up the command prompt from the windows -> start and in the command prompt just type the maven command “mvn -version” and press enter. It will display the results as shown below and confirms that our maven setup is successful and completed.


Questions? Comments? Suggestions? Let us know!! Like / Subscribe / Follow for more updates.